Spider-Man swings into action. His iconic red and blue suit gleams. Web-shooters ready, he leaps from skyscrapers. Marvel fans adore this superhero.
Drawing Spider-Man is a thrilling challenge. It captures his agility and strength. This guide will help you create a masterpiece. Let’s embark on this artistic journey together.
Why Drawing:7barsug8u0w= Spiderman is Exciting
Spider-Man resonates with fans worldwide. His relatable struggles inspire many. Drawing him allows creative expression. It’s a chance to bring imagination to life. Spider-Man’s dynamic poses challenge artists.
His costume offers intricate details to explore. Mastering his likeness is rewarding. It connects you deeper to the character. Drawing Spider-Man is a fun learning experience. It improves artistic skills rapidly.
Gather Your Materials
Sketching Pencils
Choose a range of pencils. HB pencils work well for initial sketches. 2B pencils add darker lines. 4B or 6B pencils create deep shadows. Mechanical pencils offer precision. Have a variety for different techniques.
Erasers
Keep multiple erasers handy. Kneaded erasers shape easily for details. Plastic erasers remove stubborn marks. Eraser pens provide precision. Clean erasers ensure crisp lines. They’re essential for corrections and highlights.
Paper
Select appropriate paper for your needs. Sketch paper works for practice drawings. Bristol board offers a smooth surface. Textured paper adds interesting effects. Heavyweight paper prevents bleed-through. Choose based on your preferred medium.
Inking Pens
Invest in quality inking tools. Fineliner pens create clean lines. Brush pens add dynamic strokes. Fountain pens offer ink flow control. Experiment with different tip sizes. Find what feels comfortable for you.
Reference Material
Gather Spider-Man comics and images. Official Marvel artwork serves as guides. Movie stills capture dynamic poses. Collect diverse Spider-Man depictions. References improve accuracy and inspiration.
Understanding Spider-Man’s Anatomy
Proportions and Scale
Spider-Man has an athletic build. His body is lean and muscular. Head-to-body ratio is crucial. Practice drawing basic shapes first. Correct proportions enhance realism. Study human anatomy for guidance.
Musculature
Spider-Man’s muscles are well-defined. Focus on major muscle groups. Shoulders and chest are prominent. Abs should be visible but not exaggerated. Leg muscles show power and agility. Balance musculature with his slim frame.
Facial Expressions
Capture Spider-Man’s expressive eyes. Mask shapes change with expressions. Practice various emotional states. Show determination or humor. Subtle changes convey a lot. Remember, less is often more.
Posing Your Spider-Man
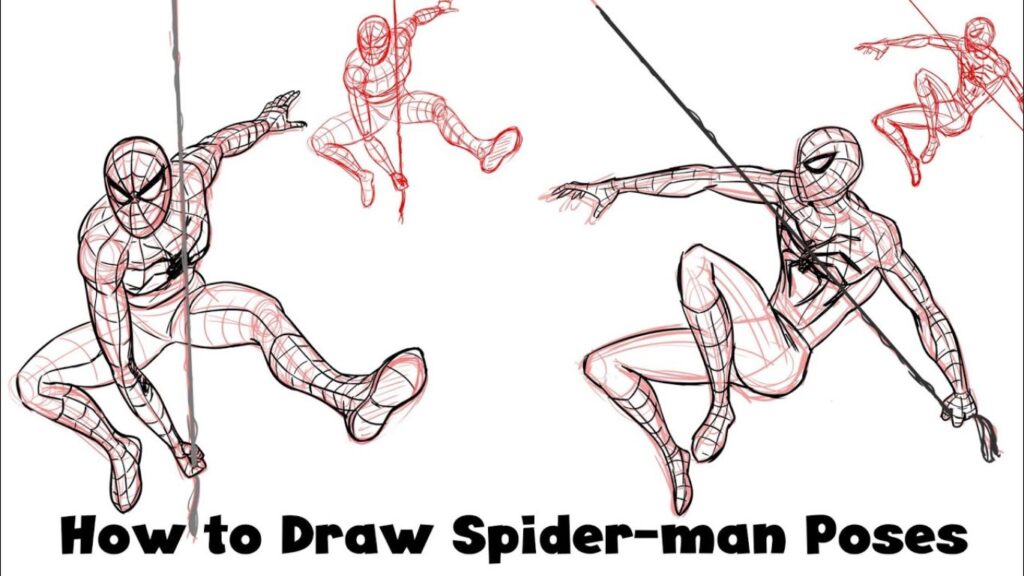
Action Poses
Dynamic poses showcase Spider-Man’s agility. Draw mid-swing or mid-leap poses. Experiment with foreshortening techniques. Show tension in the body. Convey movement through line work. Practice extreme angles for impact.
Static Poses
Even standing poses can be powerful. Focus on Spider-Man’s confident stance. Show his spider-sense tingling. Portray moments of contemplation. Subtle gestures add character depth. These poses highlight costume details well.
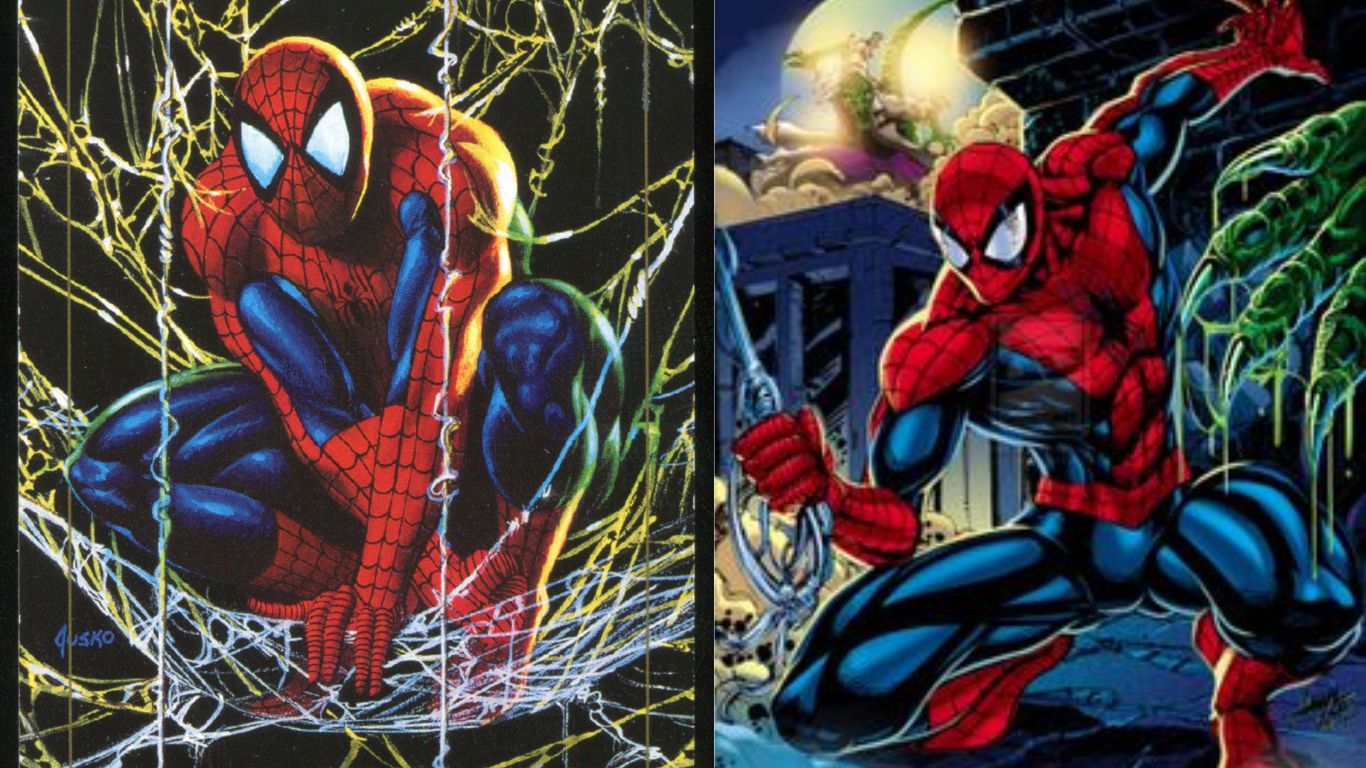
Using Reference Images
Study professional Spider-Man artwork. Analyze poses in comics and posters. Use photo references for realism. Combine elements from different sources. Create unique poses inspired by references. Don’t copy directly; interpret and adapt.
Sketching the Outline
Head and Torso
Start with basic shapes. Draw a circle for the head. Add guidelines for facial features. Sketch an oval for the torso. Establish proportions early on. Keep lines light for easy adjustments.
Limbs
Connect limbs to the torso. Use simple shapes for arms and legs. Pay attention to joint placement. Show the flow of movement. Gesture lines capture dynamic poses. Refine shapes as you progress.
Hands and Feet
Hands and feet are challenging. Start with simplified shapes. Add fingers and toes gradually. Practice various hand positions. Web-shooting poses are iconic. Don’t neglect foot anatomy and positioning.
Adding Costume Details
Web Patterns
Spider-Man’s web pattern is distinctive. Start with major lines across the suit. Add smaller connecting webs. Keep patterns consistent and symmetrical. Curve lines to follow body contours. Practice makes perfect with web designs.
Spider Emblem
The spider emblem is a focal point. Sketch it lightly at first. Ensure proper placement on chest and back. Refine the shape for accuracy. Bold outlines make it stand out. Consider different spider emblem designs.
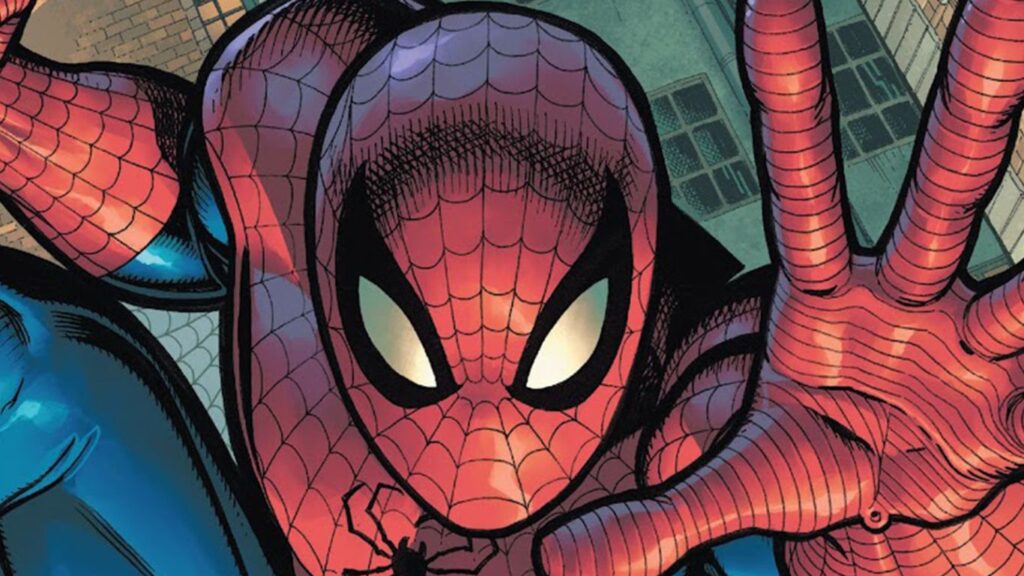
Mask and Eyes
Spider-Man’s mask is expressive. Draw the eye shapes carefully. Adjust size for different expressions. Add subtle wrinkles in the fabric. Eye reflections add life to the drawing. Don’t forget the mask’s textured surface.
Shading and Texturing
Light Source
Establish a clear light source. It affects the entire drawing. Decide on light direction early. Consistent shadows enhance realism. Light influences costume shine and depth.
Highlights and Shadows
Add highlights to raised areas. Deepen shadows in recessed parts. Use varying pressure for gradient effects. Cross-hatching creates texture. Blend smoothly for a polished look.
Texturing
Texturing adds depth to the costume. Use stippling for a grainy effect. Short lines can represent fabric weave. Vary texture techniques for different materials. Subtle texturing enhances overall quality.
Inking Your Drawing
Inking the Outline
Start inking with main outlines. Use varying line weights for depth. Keep hands steady for clean lines. Take breaks to maintain precision. Work from large areas to small details.
Detailing
Add fine details with thinner pens. Enhance web patterns and textures. Ink facial features carefully. Create contrast with bold and fine lines. Take your time with intricate parts.
Erasing Pencil Lines
Wait for ink to dry completely. Erase pencil lines gently. Use a kneaded eraser for precision. Clean up smudges as you go. A clean drawing looks more professional.
Coloring Your Drawing
Base Colors
Choose your color palette wisely. Apply flat base colors first. Stay within lines for a clean look. Use references for accurate colors. Digital coloring offers easy corrections.
Shading and Highlights
Add darker shades for depth. Highlight areas hit by light. Blend colors for a smooth finish. Color theory enhances visual appeal. Experiment with different shading techniques.
Final Touches
Add special effects like gleams or motion lines. Enhance background elements if present. Refine color transitions for realism. Step back and assess overall balance. Make final adjustments as needed.
Tips for Drawing Backgrounds
Perspective and Depth
Use proper perspective techniques. Vanishing points guide building angles. Add depth with foreground and background elements. Practice cityscape sketches separately. Integrate Spider-Man seamlessly into the scene.
Compositional Elements
Frame Spider-Man effectively in the scene. Use the rule of thirds for balance. Lead the viewer’s eye with line work. Create visual interest with varied elements. Don’t let backgrounds overpower the main subject.
Colour Scheme
Choose colors complementing Spider-Man’s suit. Consider time of day for lighting. Use color to set the mood. Contrast can make Spider-Man pop. Muted backgrounds can enhance focus.
Detail Level
Balance detail in foreground and background. Closer objects need more definition. Distant elements can be less detailed. Use detail to guide viewer focus. Don’t overwork background at the expense of Spider-Man.
Lighting and Shadows
Consistent lighting enhances realism. Cast appropriate shadows from buildings. Reflect light on shiny surfaces. Use shadows to add depth. Consider dramatic lighting for impact.
Finalizing Your Drawing
Review and Refine
Take a final look at your work. Check proportions and details. Refine lines and shading if needed. Ensure consistency throughout the piece. Make small tweaks for perfection.
Additional Effects
Add motion blur for dynamic scenes. Create impact lines for action. Consider special webbing effects. Enhance with digital tools if desired. Subtle effects can greatly improve the overall look.
Signing Your Work
Choose a signature style. Place it unobtrusively on the artwork. Consider digital watermarks for online sharing. Dating your work tracks progress. Be proud of your creation.
Presentation
| Step | Description |
| 1 | Choose a suitable frame or mount. |
| 2 | Use high-quality scans for digital display. |
| 3 | Photograph in good lighting for sharing. |
| 4 | Consider protective coating for physical art. |
| 5 | Share your work with fellow Marvel fans. |
Frequently Asked Questions
How long does it take to master drawing Spider-Man?
Mastering Spider-Man drawings takes practice and patience. Consistent effort over months or years yields improvement. Everyone progresses at different rates.
What’s the best way to draw Spider-Man’s web pattern?
Start with major lines across the suit. Add smaller connecting webs gradually. Practice regularly for consistency. Use references for accuracy.
How can I make my Spider-Man drawings more dynamic?
Focus on action poses and exaggerated movements. Study comic art for inspiration. Experiment with different angles and perspectives.
What tools are essential for drawing Spider-Man?
Quality pencils, erasers, and paper are crucial. Inking pens add definition. Coloring tools depend on your preferred medium.
How do I avoid common mistakes when drawing Spider-Man?
Pay attention to proportions and anatomy. Use references consistently. Practice individual elements before full compositions. Take breaks to avoid fatigue.
Conclusion
Drawing Spider-Man is an exciting journey. It challenges and rewards artists. Each attempt improves your skills. Patience and practice are key. Remember to enjoy the process. Your unique style will emerge. Share your art with the Marvel community.
Celebrate your progress, big or small. Keep pushing your artistic boundaries. With dedication, you’ll create Spider-Man masterpieces. Your artistic adventure is just beginning. Excelsior!
As the founder of TrustArmorInsurance, [Admin] the site in 2024 to offer reliable insurance solutions with a focus on trust and security. With a commitment to providing top-notch coverage and personalized service, TrustArmorInsurance aims to meet diverse needs with integrity and professionalism.